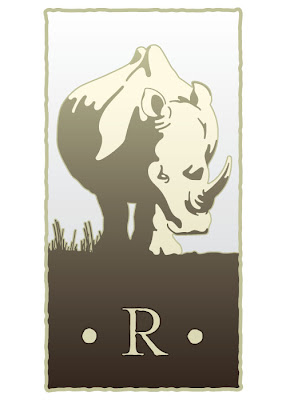
I had a friend ask me how I was drawing these. In the spirit of adding to the common good, below are the steps I take when I'm doing these little animal warm-ups.
1. Grab some reference. I start with a few images from the internet and my library for appropriate animals. I look for images that best reveal the animal's key characteristics. For this rhinoceros I looked for images that captured his girth and high-set ears.
2. I start drawing the key shapes. I usually start with a contour to constrain the overall proportions. Within this form I build the shapes I want to use. Periodically I'll use a thick stroke with rounded ends to create a perfect line but typically it's all hand-set anchors. (I'm using Illustrator CS4.) I'm careful not to reduce and incorporate shapes at this point to provide flexibility in changing the overall shape if I'm not happy with it.
3. After I am confident that I'm on the right path I reduce the shapes so they all fit together. I'm still adding bits here and there to help clarify the character of the beast.
4. I'm at a point where I can start throwing down some color. This is usually the longest part of the process. Sometimes it works, sometimes it doesn't. I'll usually start with a Kuler palette for expediency then tweak it until it works for the drawing.
5. Now I can really see what's working or not. For the rhino I can see that the eye isn't working hard enough. The lower ear is also a bit wrong because it looks too clean and even. I'll address those things and other minor concerns as I continue to improve the drawing. After I address those I can see that the other ear is floating away and the stroke is too heavy. I also add the container so I can see it all working together.
6. After addressing the colors, (finally), and adding clarity to the head it is starting to feel done. I pulled back on the stroke and lightened the whole thing so he didn't feel so heavy.
7. Add the letter. Finished!


